.png)
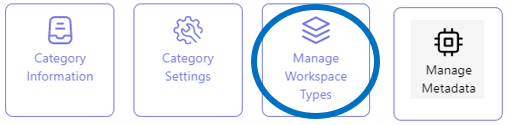
Further breakdown an MS Team workspace category into workspace types
In the third configuration step, an MS Team workspace category can be further broken down into one or several subcategories referred to as workspace types.
This allows multiple types of workspace to be included within a single category, each having different settings, for example, to have or have not the possibility to invite external guests.
All category configuration actions are performed from the category list view in the Admin Center.
If necessary, refer to the page on the PortalTalk workspace category configuration steps for an explanation of the entire process.
Access the Manage Workspace Types form
-
Access the PortalTalk Admin Center.
-
Select the Configuration - Categories navigation option to access the Workspace Category list.
-
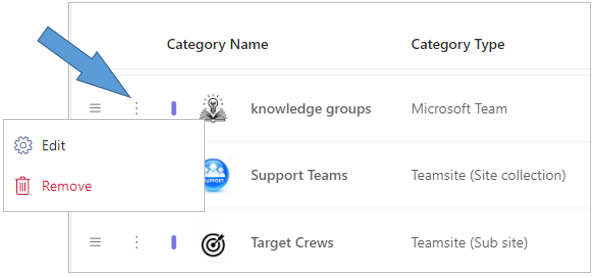
Find the workspace category of type Microsoft Team for which you need to configure a workspace type.
-
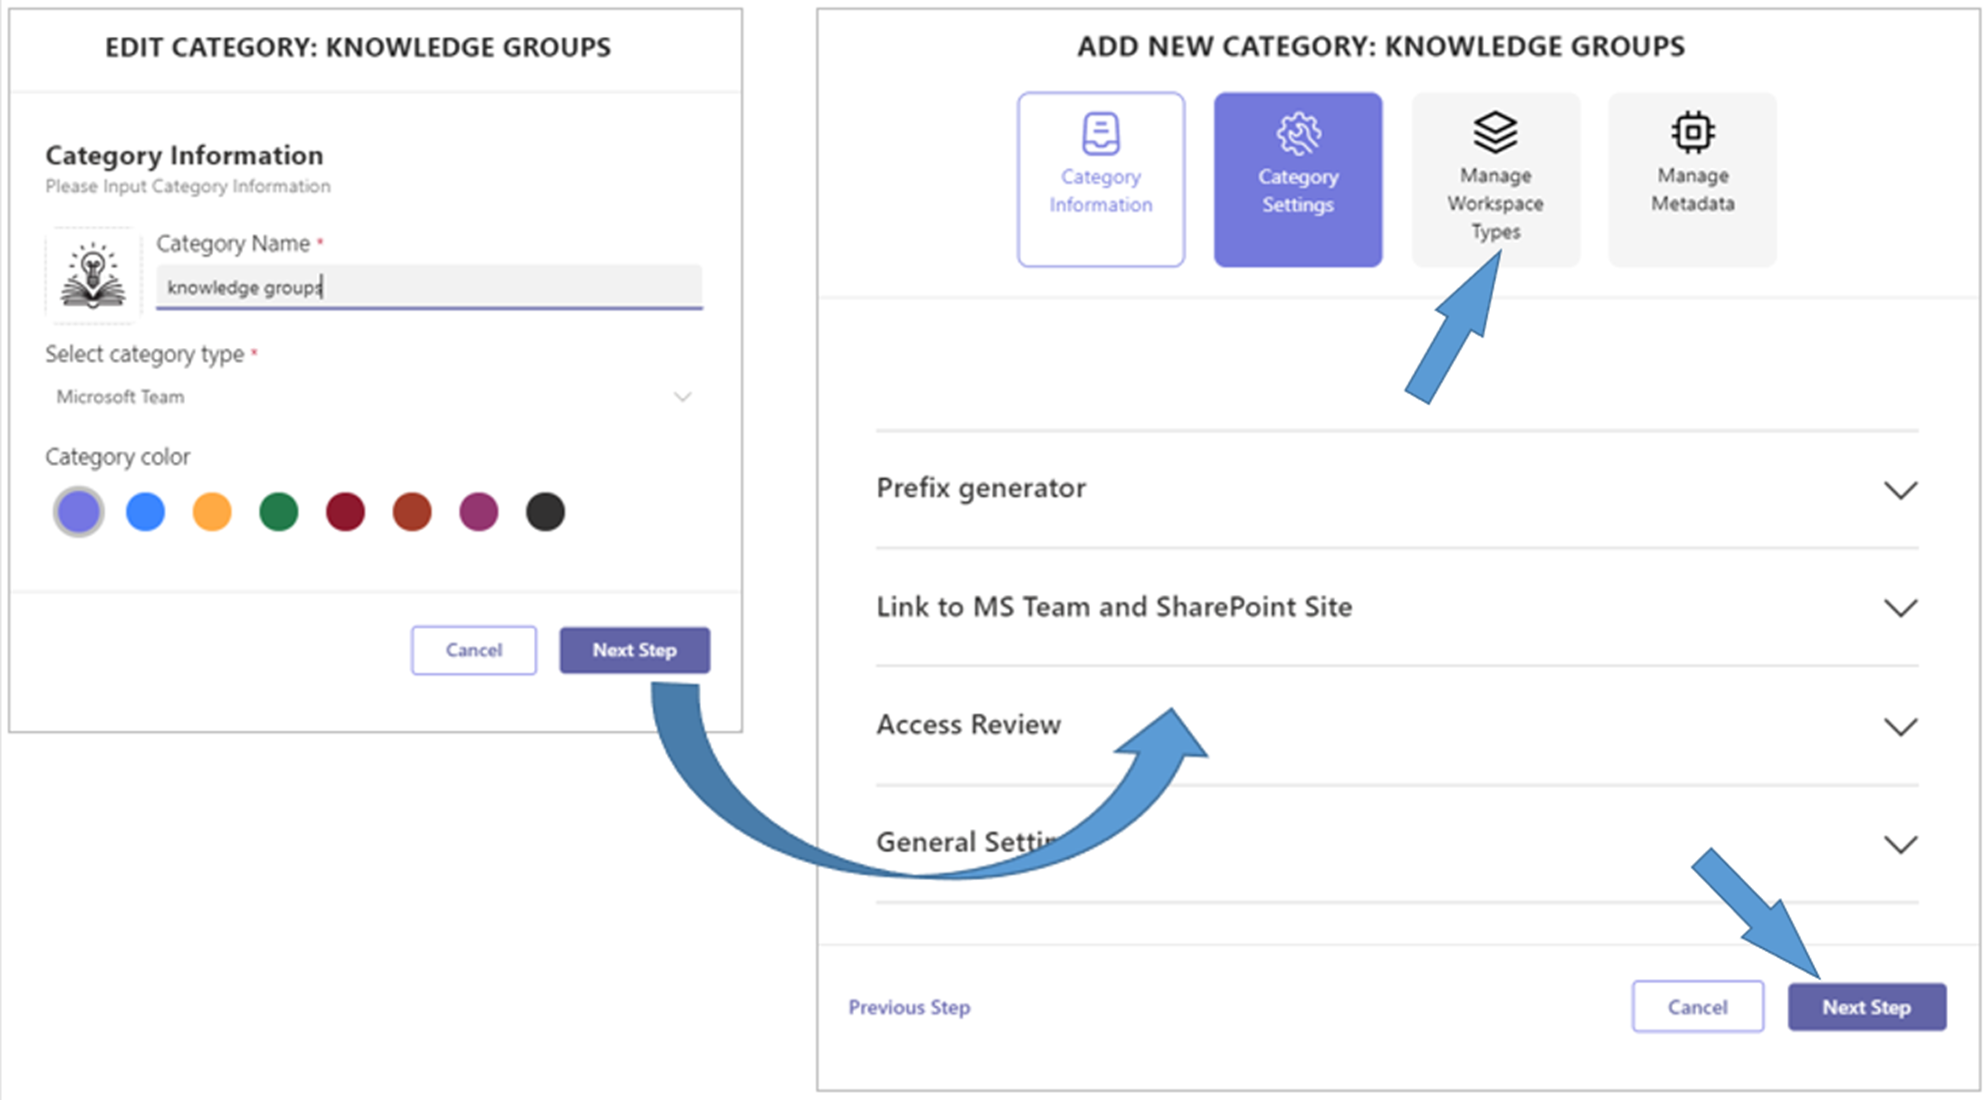
Click the category’s ellipsis menu button and select the Edit option to open the Edit Category form.
-
Click the Next Step option to obtain the tabs for the subsequent configuration steps.
-
Click the Manage Workspace Types tab to open the related form.
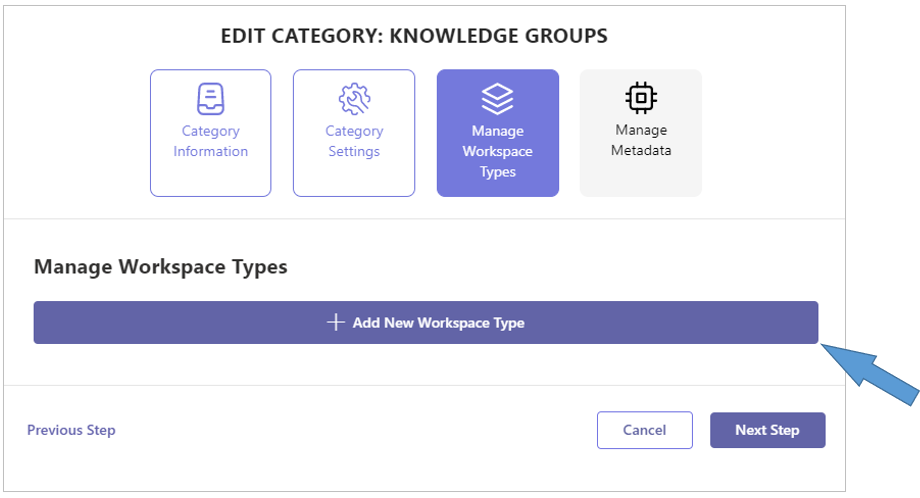
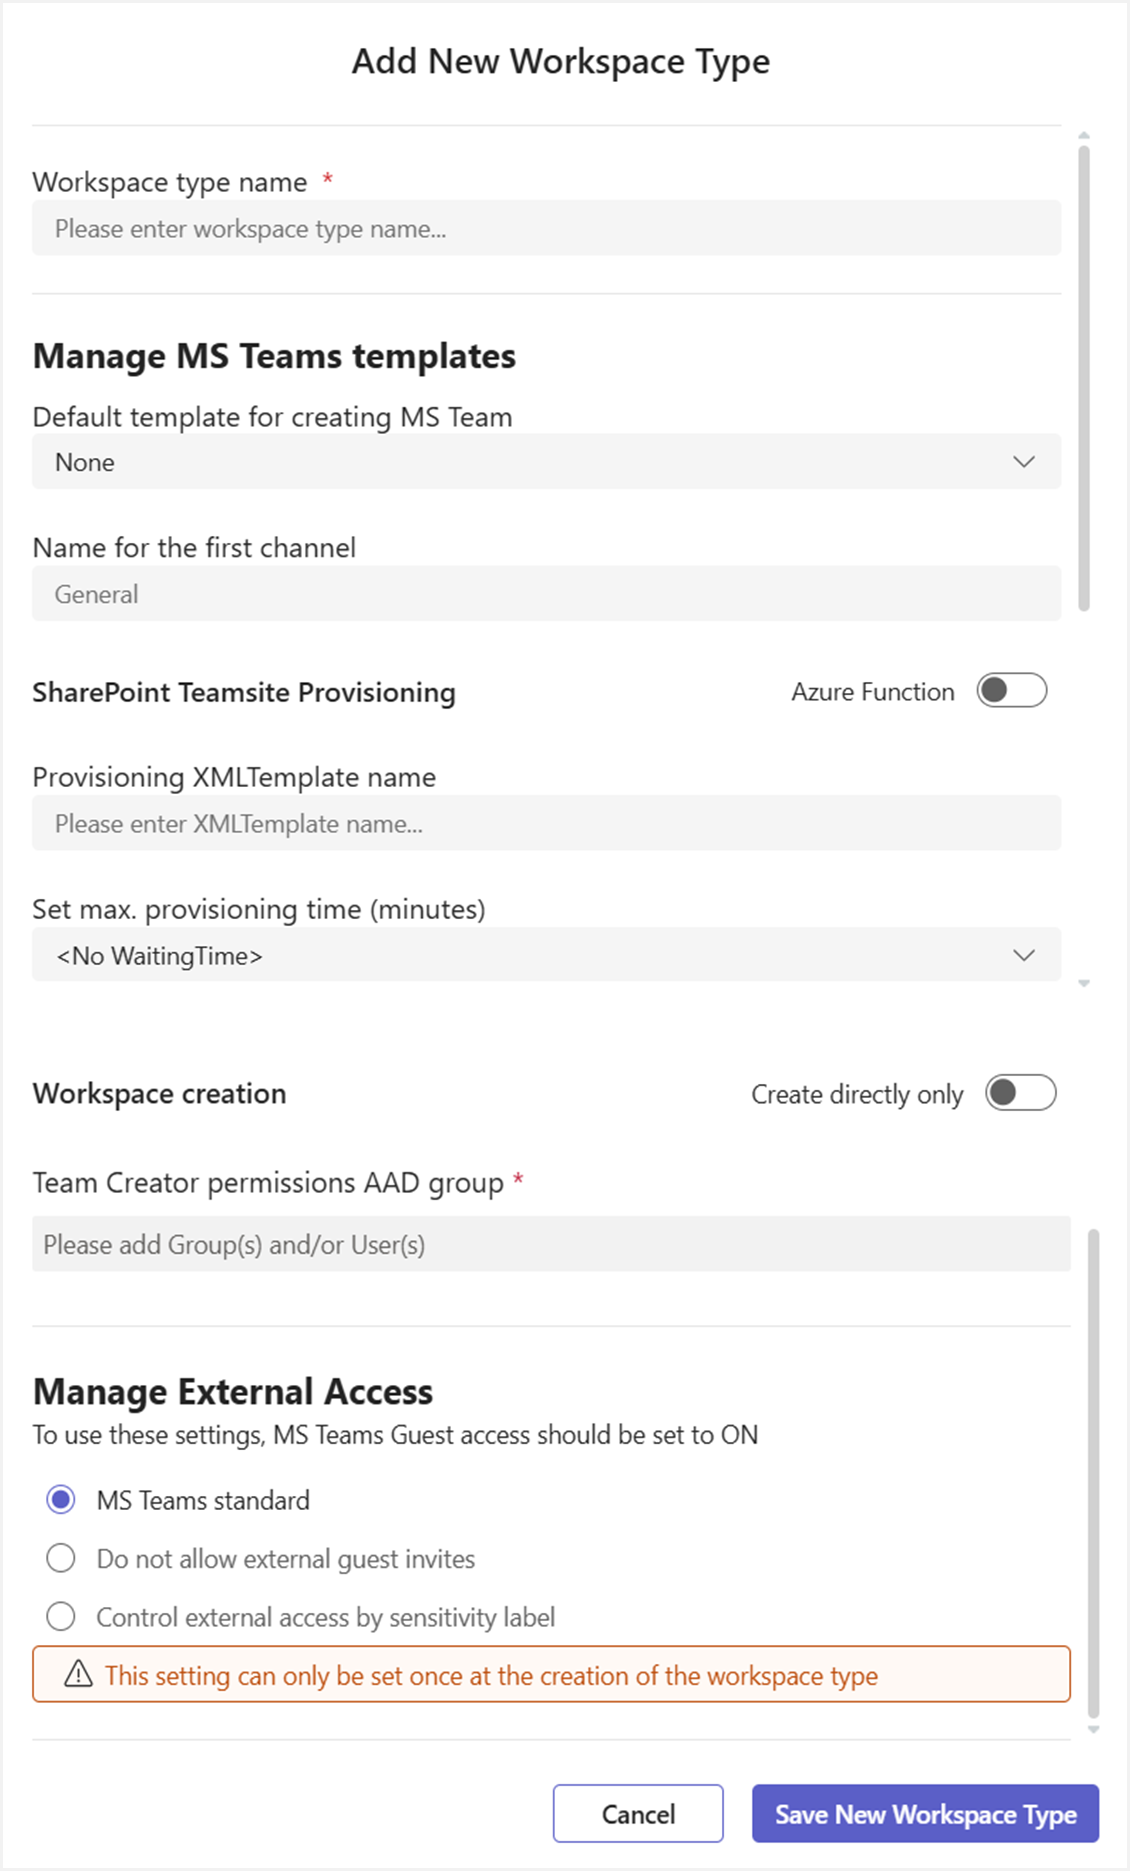
Add New Workspace Type
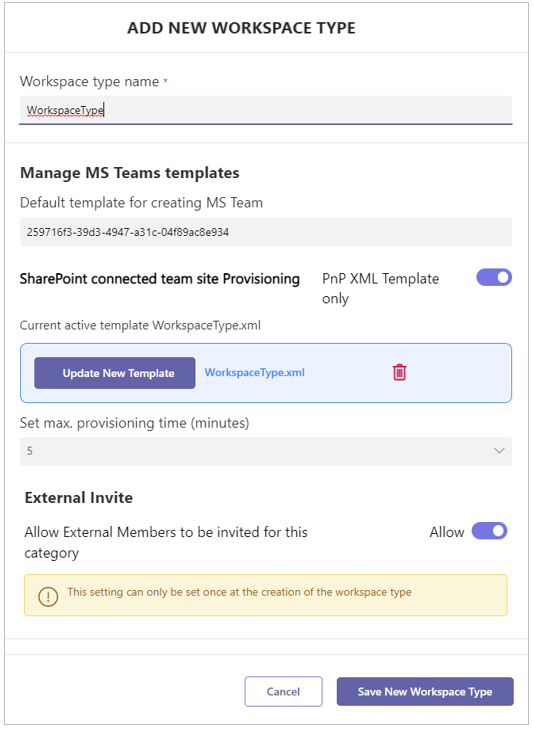
Click + Add New Workspace Type.
-
Workspace type name - Enter the name for the workspace type.
-
Default template for creating MS Team* - Click the pull-down menu to select a MS Teams template generated by the MS Teams Admin Center. When creating an MS Teams template, choose the English language, as it is the only working option. The content within these English Team templates can be in any supported language
-
PortalTalk supports the Education MS Teams templates.
-
Two prerequisites enable the templates:
-
An MS365 Education (EDU) tenant — not a commercial tenant.
-
In Admin Center → Configuration → Feature consent, enable “Provision Educational MS Teams templates.”
-
-
If you, as Global Administrator, grant this permission, you will see three EDU templates in the Manage MS Teams Template menu—visible only on an EDU tenant.
-
-
Name of the first channel - Specify the default name for the initial channel that will be automatically created when a Microsoft Teams workspace is provisioned.
-
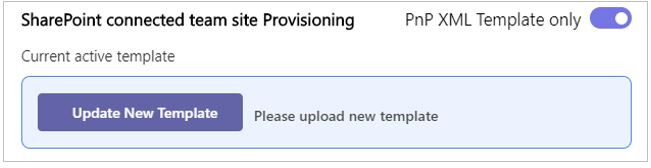
SharePoint connected team site Provisioning - Azure Function or PnP XML Template Only*- Select the appropriate method.
-
Provisioning XMLTemplate name - If the External Azure Function method applies, enter the name of the AAD script that creates and configures the workspaces for this workspace type by the Azure Function provisioning script.
-
Upload new template - If the PnP XML Template Only method applies, upload the relevant template.
-
Set max. provisioning time (minutes) - Select the appropriate number of minutes.
Initially, when you run the first create of a teams workspace and connected provisioning, you can measure how much time it will cost to completely deliver the configured MS Teams and connected SharePoint site workspace. The measured amount of time can be entered in the max. provisioning time in minutes. Take as value, the next higher step than the value you measured.
Create and Request Workspace flows
To set a detailed workspace Request and Approve flow, you are able to setup the Requesters and Approvers per workspace type. If you want the same settings for the Category, configure every Workspace Type of the Category with the same values for Groups and/or Users.
-
Expand the Workspace Create or Request section.
-
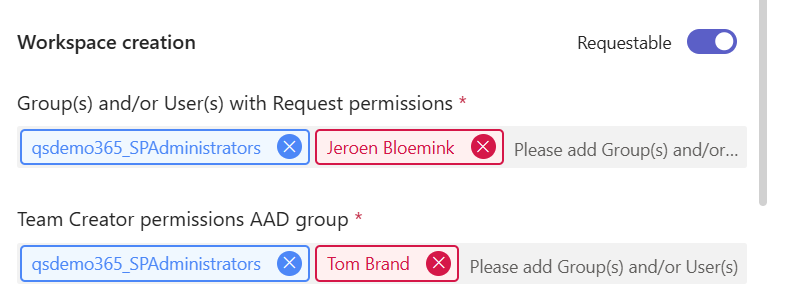
Workspace creation (Create directly only or Requestable) - Set the toggle button to the desired value.
-
Group(s) and/or User(s) with Request permissions - In case of a requestable workspace category (Blue), select one or more groups to exercise the workspace create permission for this category. You can also add single Users (Red) in the fields.
-
Group(s) and/or User(s) with Create permissions -You can also add one or more Groups and/or Users to set the workspace create permission for this category. Approve and Create permissions are equal. A user with Approve permission can also directly create a workspace .
External Invite configurations
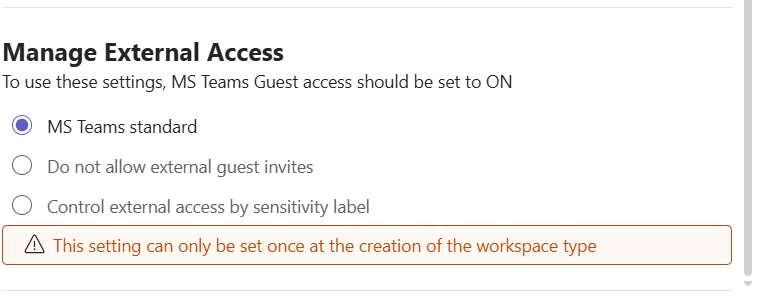
External Invite - Several options are available to handle external invite options. Lets explain them in detail here
-
MS Teams standard - If it is set at organizational level that external team members are allowed, it is possible to deviate from this setting per individual MS Teams workspace type. Please keep on mind this setting can be only set once at the first initial setup of the Workspace Type.
-
Do not allow external guest invites - This setting allows you to make external invitations to specific team workspaces more granular. You can restrict guest user invitations to a particular Workspace Type. Note that this is a one-time setting applied only during the initial setup.
-
Control external access by sensitivity label - This option uses Microsoft Sensitivity labels (MIP) for containers and applies to the Microsoft 365 group of the connected Teams workspace. All options to limit external access are provided by Microsoft. Detailed configuration should be done through the MS PurView Sensitivity labels configuration. If you choose this option, a pull-down menu will display the configured sensitivity labels. All teams created within the Workspace Type will receive the assigned sensitivity label. This setting can only be set once during initial setup. You can change the configuration of the labels in PurView as needed. Note: All users using this option should have a valid MS MIP license.
Tips on MS Teams External invite settings
The MS Teams external invite options by PortalTalk are extensive, as explained here. This section provides additional tips and scenarios for using these settings.
-
You must choose one of the three options, which can only be set once.
-
On the PortalTalk ‘Edit’ teams workspace screen, an owner can change the workspace type. If the new workspace type has a different external access configuration, it will be updated accordingly.
-
PortalTalk will apply a configured sensitivity label. A team owner can change this label in the MS Teams app settings, but this is not advisable. You can disable this option in the sensitivity label configuration. Please consult Microsoft documentation for more details.
-
If the Workspace Managed Member Service of PortalTalk is used, MIP labels are also added if the Workspace Type of the created team is configured for MIP labels.
-
The external access setting can be changed in the MIP label configuration. PortalTalk supports this change, but it may take up to 24 hours for the new value to become active.
-
Due to a Microsoft issue, labels set by PortalTalk are not visible in MS Teams settings but are visible at the Microsoft 365 group level.
Save new Workspace Type
With all the information explained and filled you can click ‘Save new workspace type’ to save all settings.
-
Click Save New Workspace Type.
-
And you will return to the Manage Workspace Types screen
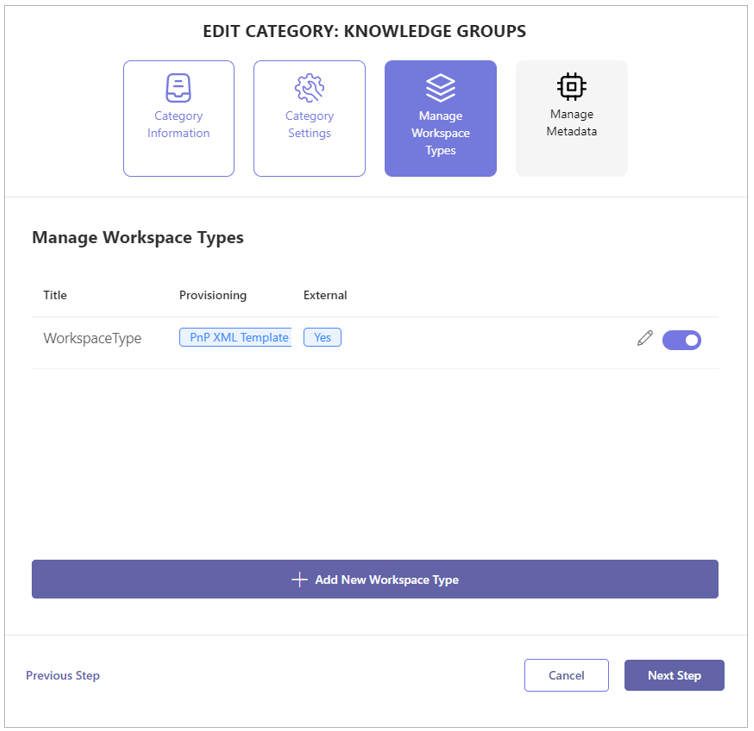
The newly configured workspace type is displayed within the list op the category’s workspace types.
*Note:
A category having a default template cannot be applied for . MS Teams can be imported under a category that has no default template and has the method PnP XML Template Only active.
-
Click Next Step to save your settings and move from the Manage Workspace Types form to the Manage Metadata form.
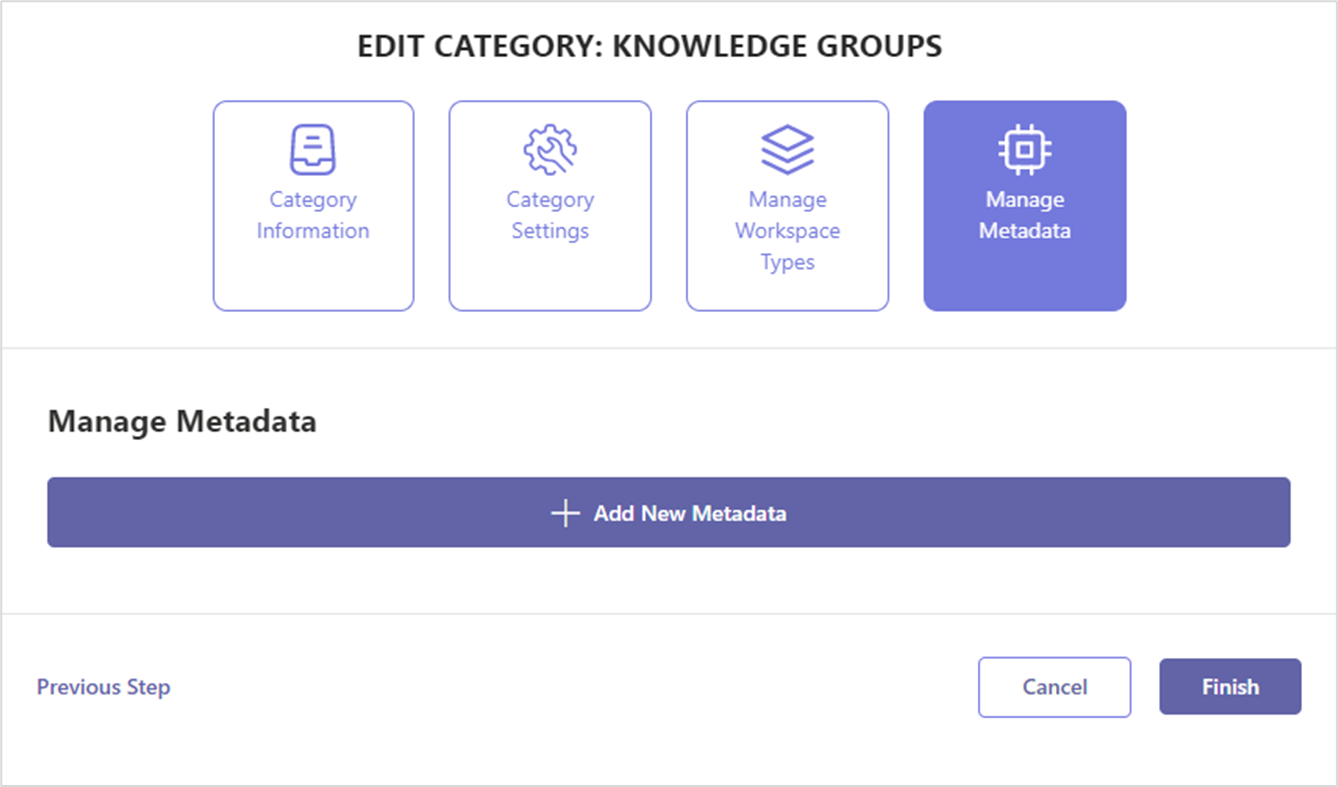
Continue the final step of the configuration process with the instruction Manage MS Team metadata.