.png)
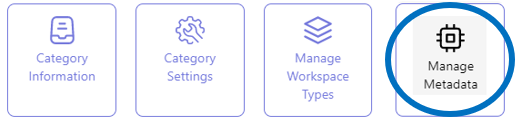
Enable differentiation of the MS Team category's workspaces through metadata
The collection of workspaces within an MS Team workspace category can be differentiated on the basis of distinctive metadata.
This allows for differential reporting on the workspaces.
All category configuration actions are performed from the category list view in the Admin Center.
In the final step of the MS Team category configuration process, the category’s metadata can be configured.
If necessary, refer to the page on the PortalTalk workspace category configuration steps for an explanation of the entire process.
Access the Manage Metadata form
-
Access the PortalTalk Admin Center.
-
Select the Configuration - Categories navigation option to access the Workspace Category list.
-
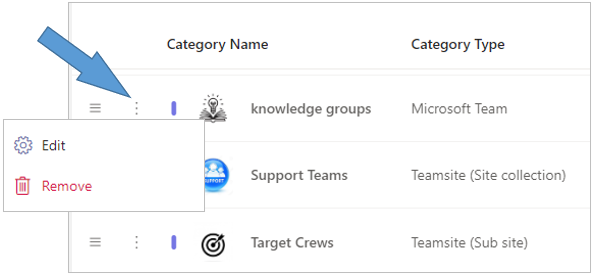
Find the workspace category of type Microsoft Team for which you need to configure metadata.
-
Click the category’s ellipsis menu button and select the Edit option to open the Edit Category form.
-
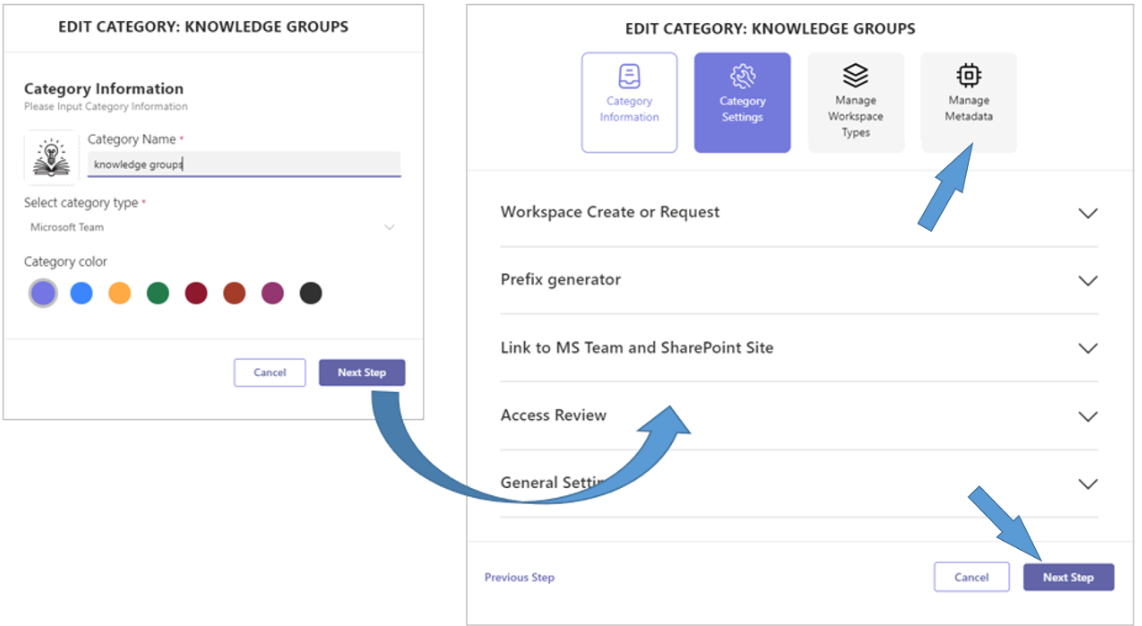
Click the Next Step option to obtain the tabs for the subsequent configuration steps.
-
Click the Manage Metadata tab to open the related form.
-
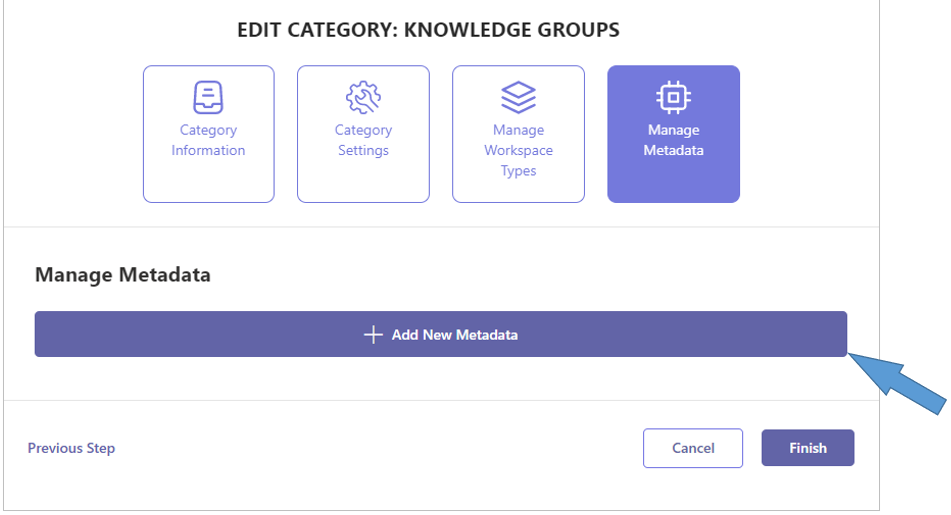
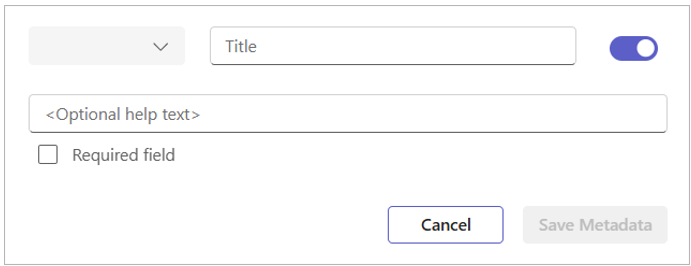
Click + Add New Workspace Metadata to launch the corresponding dialog.
-
Create the various metadata fields with which the workspaces within the category should be characterized.
The available field types are: Text, Choice field, Date and Person.
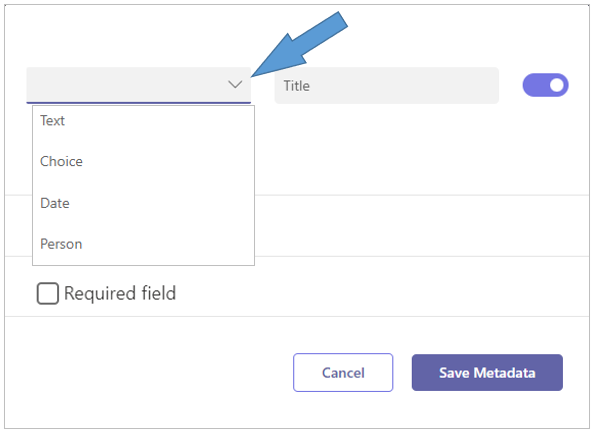
-
The Choice field has additional features. The Choice values are listed in alphabetic order (A….Z) and values are searchable. This is available on the Create\Request\Edit forms during the Create Workspace proces.
-
Required field - Check this option for a metadata field that must be filled upon creation of the workspace.
-
Optional helptext - Optionally, fill in this text field with a description of the purpose of the metadata. This will help users understand its relevance and guide them in adding the correct metadata to their MS Teams workspace. In this help text, you can include one HTML tag to link to an external information source.*
-
Click Save Metadata.
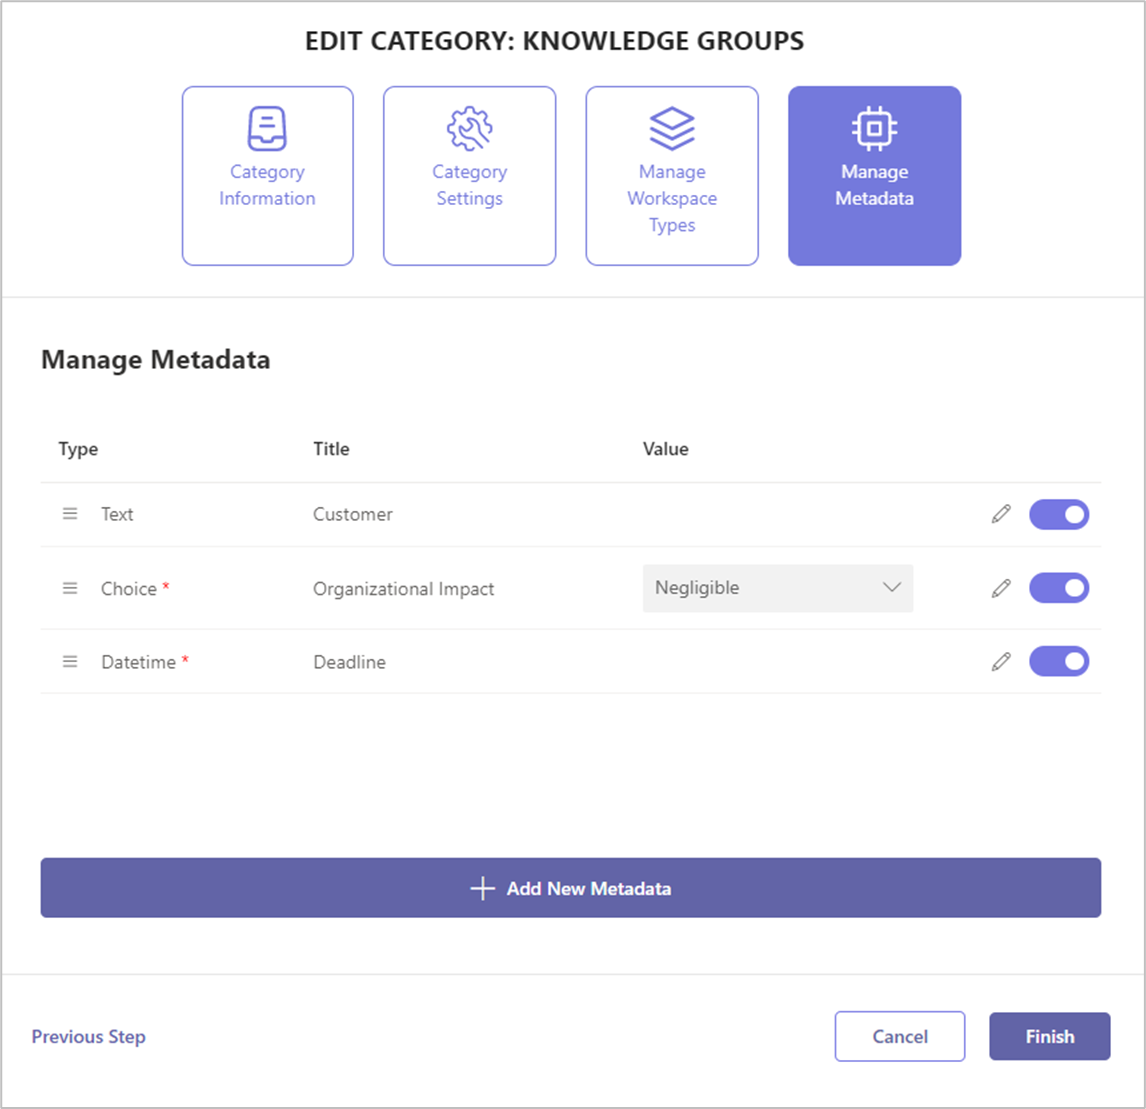
The configured metadata are displayed within the list of the category’s metadata.
-
Click Finish.
* In the optional help text, you can include one HTML tag to link to an external information source, such as a website or a SharePoint page. The format for the HTML tag is:
<a href="URL">displayed text</a>
-
The URL should point to the external information source.
-
The displayed text should describe the link, for example: "Click here for an explanation".
For instance, the following HTML tag:
<a href="https://tenant.sharepoint.com/sites/maar/pagina.aspx">Click here for an explanation</a>
will display a clickable link.
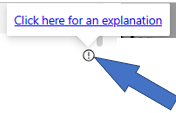
When users hover over it, they will see a pop-up with the text "Click here for an explanation".